How to prompt a product scene: place, light, surface and angle
Generic, stock-photo results usually come from a prompt that leaves every decision to the model. Get a fill-in template, a worked example and a one-change-at-a-time method for placing your product in a believable scene.
By SemPost EditorialWritten with AI, read by an editor
Published Updated 11 min read
In this article
Why vague scene prompts give generic pictures
Take a prompt like this: "My mug in a nice cozy setting, beautiful lighting." It leaves every decision to the model. Which room? Which light? What is the mug standing on? Where is the camera? With nothing to go on, the model picks the most common answer to each question. You get the average of all mugs: a beige blur, a vague plant, a wooden table that could be anywhere.
The fix is not a longer, more poetic prompt. It is making a few decisions on purpose. Four of them shape almost every product scene:
- Place: where the product is.
- Light: where the light comes from and what it feels like.
- Surface: what the product stands on.
- Angle: where the camera is and how much of the frame the product fills.
A fifth part matters more than the other four: a sentence that locks the product and says what must not change.
Write these as plain sentences, not a pile of keywords. Google's image generation documentation (opens in a new tab) recommends describing the scene in full sentences, with the subject, setting, lighting and camera details, rather than a list of disconnected words. A sentence like "soft window light from the left" tells the model how things relate to each other. "Cozy, light, window, nice" does not.
This article gives you two things to copy: a fill-in template, and a method for improving a result by changing one choice at a time.
The template: lock the product, then choose four things
Put the product first, because everything else in the prompt is allowed to vary and the product is not. Then add one plain sentence for each of the four choices, and one short line on mood and what to leave out.
Product: [product name], [color], [material/finish], [print, logo or label and where it sits]. Keep its shape, proportions, color and details exactly as in the reference photo. Do not redraw or restyle the product.

Place: [a specific, simple spot], with [what is in the background].

Light: [direction and quality of the light], [time of day or type of light].

Surface: [material and finish] surface under the product.

Angle: [camera position], the product fills [how much] of the frame.

Mood: [one or two words]. Keep the background [positive instruction, e.g. clean and uncluttered]. No text other than what is printed on the product.
Why the product lock comes first
The lock names the things a model is most likely to "improve" on its own: the color, the material, the logo, the handle. Be literal. "Matte green ceramic, small white logo on the side, handle on the right" gives the model something to hold on to. "A nice mug" does not.
When the reference photo matters more than the words
If your tool accepts a reference photo of the real product, that photo carries most of the product's identity. Your words then handle the scene, not the product. A clear, well-lit reference on a plain background helps more than another adjective in the prompt.
If the product keeps changing shape between attempts, don't add more words to the lock. Check the reference photo first.
Place, light, surface, angle: what to write for each
Place
Name a real, specific spot and say what is behind the product. Keep it simple, because the product is the hero and the place is the supporting actor.
- Weak: "a cozy setting"
- Better: "a kitchen shelf with a blurred window behind it"
- Other easy places: a workshop bench, a windowsill, a bedside table, a garden step, a café counter.
Small details are fine, but one or two are enough. Every extra object is something the model may also draw closer, bigger or in front of your product.
Light
Name the direction and the quality of the light. "Beautiful lighting" gives the model nothing to choose from.
- "Soft window light from the left"
- "Warm, low evening light from behind the product"
- "Even, diffuse studio light with soft shadows"
Direction decides where the shadows fall. Quality, soft or hard, decides how sharp their edges are. Flat, shadowless pictures usually come from prompts that never mention light at all.
Surface
Name the material and its finish: "matte oak," "honed marble," "creased linen cloth," "brushed concrete." The surface does three jobs. It sets the price feel (marble reads differently from plywood), it adds texture, and it catches reflections and shadows that make the product look grounded rather than floating.
Angle
Name the camera position and how much of the frame the product fills.
- "Eye level" for a straightforward, honest look.
- "Slightly above" for most tabletop products; it shows the top and the front.
- "Straight top-down" for flat lays, food and anything with a pattern on top.
- "Close macro" for texture and small details.
Add the crop: "the product fills most of the frame" or "the product sits in the lower third with room above." If you plan to post to more than one format, ask for space around the product so it can be cropped later.
Starting points by product type
These are starting suggestions, not rules. Try one and adjust.
| Product type | Light to start with | Surface to start with | Angle to start with |
|---|---|---|---|
| Shiny or glass | Large, soft light from the side; avoid light straight from the front, which causes glare | Matte, plain surface (matte stone, plain paper) | Slightly above eye level |
| Fabric or clothing | Soft window light from one side to show texture | Linen, light wood or plain wall behind | Slightly above, close enough to see the weave |
| Food or drink | Warm side light or gentle backlight | Wooden board, ceramic plate, tablecloth | 45 degrees, or top-down for flat dishes |
| Small jewelry | Even, soft light with a small highlight | Neutral stone, velvet or plain cloth | Close macro |
| Large item (bag, chair, lamp) | Even daylight that fills the room | A believable floor or table | Eye level, wide enough to show scale |
A worked example: from a weak prompt to a usable one
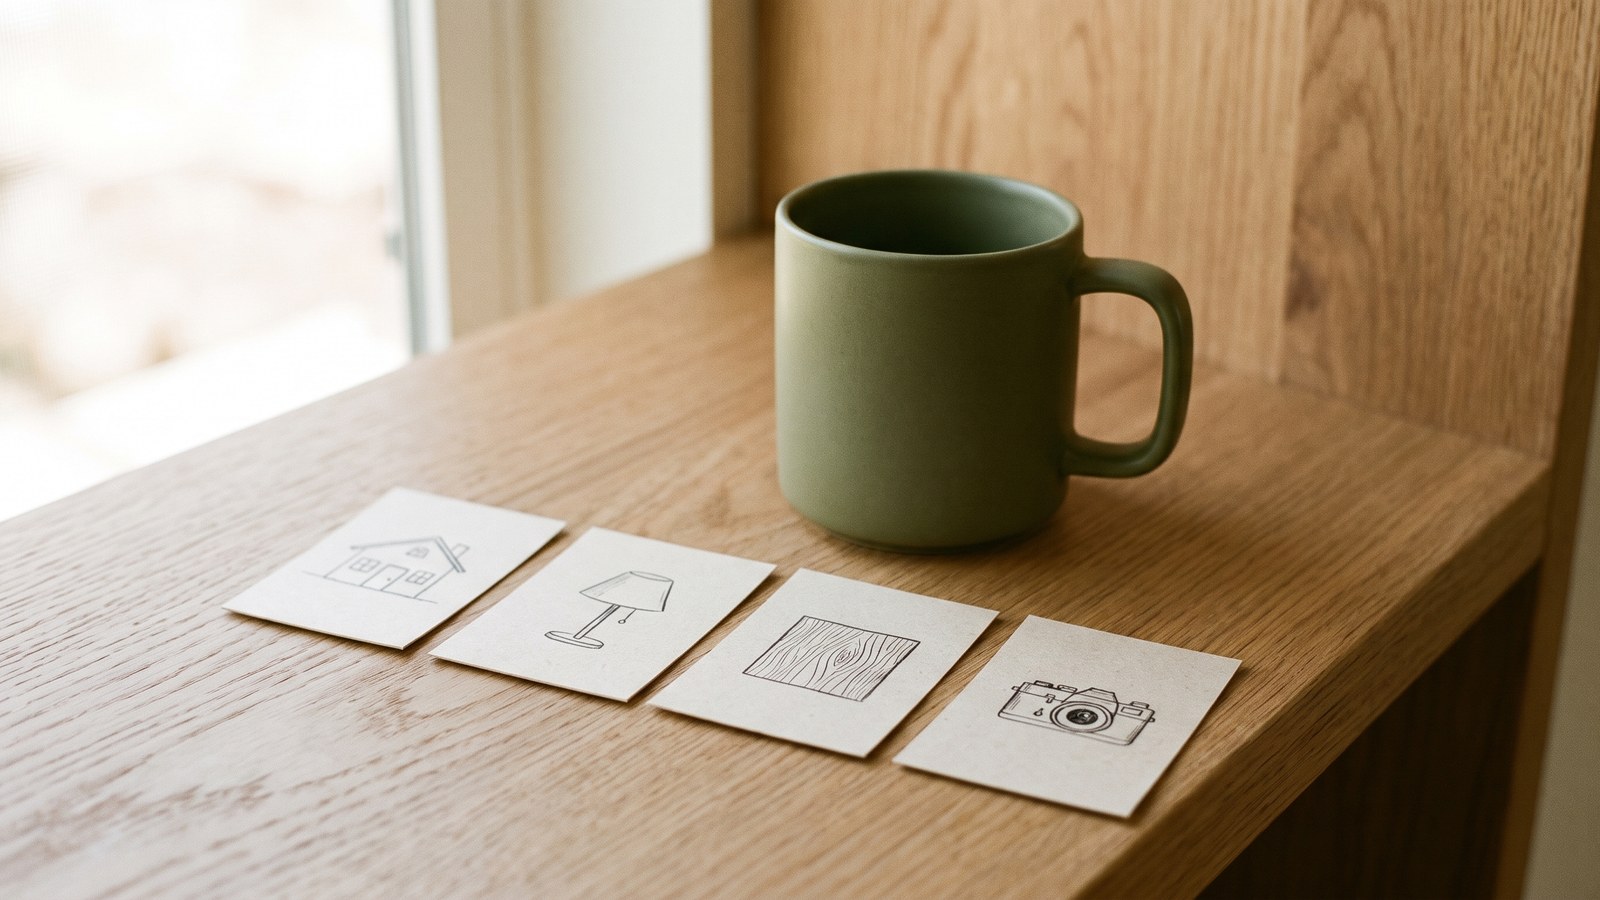
The product here is invented: a matte green ceramic mug with a small white logo on the side.
The weak prompt:
My green mug in a nice cozy setting, beautiful lighting, high quality.The same idea, rewritten with the template:
Product: a matte green ceramic mug with a small white logo on the side and a rounded handle on the right. Keep its shape, color and logo exactly as in the reference photo. Do not redraw or restyle the product.

Place: a kitchen shelf next to a window, with a softly blurred wall and a few blurred green leaves in the background.

Light: soft daylight from a window on the left, gentle shadows falling to the right.

Surface: matte oak shelf with visible wood grain.

Angle: camera slightly above the mug, the mug fills about half of the frame, with some empty space above it.

Mood: calm, quiet morning. Keep the background clean and uncluttered. No text other than the logo on the mug.
What each line fixed
- The lock keeps the green and the logo. Without it, the model may drift to a different green, add a pattern, or invent a new logo.
- The light sentence removes flatness. The direction gives the mug a lit side and a shadow side, which is what makes it look round.
- The surface sentence adds texture and a believable place for the shadow to land.
- The angle sentence sets the crop and leaves room for a caption or a different aspect ratio.
- The place sentence replaces "cozy" with something visible, and "blurred" keeps the background from competing.
What typically goes wrong next, and which line to edit
| What you see | Edit this line |
|---|---|
| The logo is changed, moved or garbled | The product lock: describe the logo's position and size; check the reference photo |
| An extra object appears (a second mug, a spoon, a plant in front) | Place and the "leave out" line: shorten the background description and ask for a clean, uncluttered scene |
| The background is muddy or busy | Place: simplify to one backdrop and say it is softly blurred |
| The mug looks flat or pasted in | Light: name the direction and say where the shadows fall |
| The surface looks like plastic | Surface: name the material and its finish more exactly |
| The mug is too small or cut off | Angle: state how much of the frame the product fills |
Improve it by changing one thing at a time
A first result is rarely final. The way to improve it without guessing is to change one choice per attempt.
- Generate with the full template.
- Check the product first. Is it the same shape, color and logo? If not, fix the lock or the reference photo before touching the scene. A beautiful scene around the wrong product is useless.
- Pick the single weakest of the four choices. Place, light, surface or angle: which one makes the picture feel generic?
- Change only that sentence. Leave everything else word for word.
- Compare the new picture with the previous one. Keep the change if it helped, undo it if not.
- Repeat with the next weakest choice.
Changing several things at once makes it impossible to learn what worked. If you swap the surface, the light and the angle in one go and the picture improves, you don't know which edit did it. If it gets worse, you don't know which to undo. One change per attempt costs a few more generations but teaches you something every time.
Keep a short note per product group
When a prompt works, save it. A simple table is enough:
| Product group | Place | Light | Surface | Angle | Notes |
|---|---|---|---|---|---|
| Ceramic mugs | Kitchen shelf by a window | Soft window light from the left | Matte oak | Slightly above | Describe the logo position in the lock |
| Candles | Bedside table, dim room | Warm, low evening light | Dark wood | Eye level | Ask for a soft, small flame glow |
The next product in the same group then starts from a proven prompt, and you only change the product line and one or two details.
Tip
Where you can, write what to avoid as a positive instruction. "Clean, uncluttered background" often works better than "no clutter, no extra objects, no mess," because a list of unwanted things puts those things in the model's mind. Keep one short "no text other than the logo" line for the few things that really must stay out.
Check the picture before you post it
A scene picture is a staged mood, not a document of the product. Before it goes out, check it against the real item.
- Shape and proportions match the real product.
- Color matches the real product (compare with a true-color photo, not another AI picture).
- Logo, label and any printed text are correct and readable, with nothing added or garbled.
- The size looks right next to other objects in the scene.
- No extra or missing parts, such as a handle, strap, lid, button or zipper.
- Nothing in the scene suggests a feature, material or quantity the product doesn't have (a set of four when you sell one, a "marble" look when it is a print, a waterproof setting for a product that isn't).
- Nothing in the picture could mislead a customer about what they will receive.
If a customer could reasonably think they are getting what the picture shows, the picture has to match what you ship. Keep the scene to mood and setting, and leave promises out of it.
Label AI pictures where required
Some networks ask you to label AI-generated or AI-edited images, and some rules in some countries do too. Check each network's current rules before you post. This is general information, not legal advice; if you are unsure what applies to your shop, ask a qualified professional.
The habit to keep: when a prompt produces a picture you would happily post, save it as a template for that product group. Next time, swap the product line, keep the four choices, and change one thing only if the result needs it.
How we do it at SemPost
SemPost's Studio asks for the same four choices. In Make a scene you pick up to two photos of the product under Source photos, then a Place, a Light and a Camera angle; More options adds a Surface, and What else to show takes your own words. The product stays as it is in its photos, and you see the scene before you add it to your post. Edit pictures and make scenes (opens in a new tab) shows each step, and AI labels on your pictures and videos (opens in a new tab) explains the label a post with a scene gets.
Frequently asked questions
What should a product scene prompt include?
A product scene prompt works best with five parts: one sentence that locks the product (its color, material, logo and what must not change), then one plain sentence each for the place, the light, the surface and the camera angle. Full sentences tell the model how these parts relate; a list of keywords does not.
Why do vague prompts give generic product pictures?
Words such as "cozy" or "beautiful lighting" leave every decision to the model, so it picks the most common answer each time: an average room, flat light and a table that could be anywhere. Naming a specific place, the direction and quality of the light, the surface material and the camera position replaces those defaults with your own choices.
How do I stop an AI model from changing my product?
Put the product first in the prompt and describe it literally: its color, its material, where its logo sits and parts such as a handle. Then say that its shape, color and details must stay exactly as in the reference photo. If the product still changes between attempts, check the reference photo before adding more words.
How do I improve a scene picture that is almost right?
Change one choice per attempt. Check the product first, then find the weakest of the four choices (place, light, surface or angle), rewrite only that sentence and compare the new picture with the previous one. Keep the change if it helped and undo it if it did not; when a prompt works, save it as a template for that product group.
Do AI product scenes need a label?
Some social networks ask for a label on AI-generated or AI-edited images, and some countries have rules too, so check each network's current rules before posting. A scene should also match what the customer receives: no feature, material or quantity the product does not have. This is general information, not legal advice.